Other Options
There are a few other helpful options in the Preferences. To find Ecamm Live’s Preferences, choose Preferences from the Ecamm Live menu at the top of the screen beside the menu.
You can also open the Preferences by clicking the gear icon the Main Window or by typing ⌘,.
General Preferences
Play App Sounds
Ecamm Live will play a sound when comments arrive. Viewers may hear the sounds if you use speakers during the broadcast, while Ecamm Live’s echo cancellation feature is deactivated.
Show Animated Reactions
Ecamm Live will display floating Emoji symbols in the Comments & Reactions window when reactions arrive.
Show Camera Switcher in Main Window
Ecamm Live will display floating camera switcher controls in the Main Window when in Camera mode. Uncheck this checkbox to permanently hide these controls.
Show Program Window While In Other Apps
While you’re live or recording, if you switch to another app, a small floating control window will be displayed. This control window allows you to see what’s being broadcast, and includes buttons to change Scenes and Source modes, as well as a Finish button.
Keep Utility Windows In Front While Live
While broadcasting or recording, the control windows such as the Scenes window and Overlays window will always remain visible above all other windows, even when in another app.
Clicking Utility Windows Brings Ecamm Live To The Foreground
By default, when Ecamm Live is not the active application, clicking an Ecamm utility window will not activate the app. Check this box if you want this to activate the app (bringing it to the foreground.)
Automatic Overlay Alignment
Automatic Overlay Alignment aligns overlays to other overlays as they are positioned or resized. Choose None to turn off this feature. Pick Sticky for the default behavior, which will cause overlays to stick to other overlays when they are aligned. Choose Snappy if you want overlays to snap into alignment as they near each other. Hold down the command key to temporarily disable alignment.
When Returning To Live Mode With Unpublished Changes
What to do if changes have been made to the current scene while in Preview mode and you are returning to Live mode.
Automatically Hide Comment Overlays
When a viewer comment is added as an overlay, use this setting to automatically hide it after a given number of seconds. When this setting is activated, the overlays will also be hidden automatically after changing Scenes.
Hide YouTube Dislikes
Checkbox this checkbox to prevent YouTube dislikes from showing up in Ecamm Live’s Comments & Reactions Window.
Use Discrete Graphics Card for Main Screen
Intel-based 15-inch and 16-inch MacBook Pros come equipped with dual graphics, meaning they have a more powerful graphics card (known as the discrete graphics card) in addition to the card built into the Mac’s motherboard. The Mac will switch automatically between the two GPUs based on a variety of settings. Check this checkbox to ensure that the discrete graphics card is used for the main screen when Ecamm Live is open.
Using the discrete graphics card will result in better performance, especially at higher frame sizes. However it can generate additional heat, resulting in Mac fan noise.
Account Preferences
Manage Account
Your Ecamm Live account is what you use to identify yourself and your Ecamm Live subscription. Click Manage Account to change your name, email address or password.
Manage Billing
If you have an active Ecamm Live subscription, you’ll see a Manage Billing button. Click this to update your billing information, view, download and print invoices, or cancel your subscription.
Stream Preferences
Stream Size
Choose from 540p, 720p, 1080p, 1440p or 4K. This setting will apply to both the resolution of your live stream and the resolution of local recordings.
1440p and 4K are only available with an Ecamm Live Pro subscription.
Facebook’s standard livestream size is 1080p. You may wish to choose the smaller option if your internet connection’s upload speed is insufficient for 1080p.
While Facebook will accept up to a 4K video stream, it does not currently offer the ability to view a stream at this resolution. Other streaming destinations such as YouTube fully support 4K live broadcasts.
The stream size cannot be changed during a broadcast.
Note that higher stream sizes will require a faster internet connection.
When selecting a stream size, Ecamm Live will automatically run any connected cameras at the ideal resolution if supported. For example, selecting 1080p will automatically run any connected Logitech webcam at 1080p. However a webcam that does not support 1080p will continue to run at 720p.
Stream Shape
Choose from Wide (16x9), Extra Wide (2x1), Classic (4x3), Square, and Tall (9x16), or choose the Aspect ratio of your Mac’s display. The last option allows you to use 360° Cameras.
9x16 is like a mobile display held in portrait orientation. 16x9 is like an HDTV screen, and 4x3 is like standard definition televisions before HD.
The stream shape cannot be changed during a broadcast.
Frame Rate
Choose from 24, 25, 30, 50 and 60 frames per second. This setting will apply to both the resolution of your live stream and the resolution of local recordings.
Most users will not need to change this from the default frame rate of 30 FPS. However non-US users may wish to record in 24 or 25 FPS mode. Higher frame rates such as 60 FPS are common for game streaming. Note however that using 50 or 60 FPS mode will double your internet bandwidth requirements.
When selecting a frame rate, Ecamm Live will automatically run any connected cameras at the this frame rate if supported. For example, selecting 24 FPS will automatically run any connected Logitech webcam at 24 FPS. However a webcam that does not support 24 FPS will continue to run at 30 FPS.
Use High Quality Video
Ecamm Live streams at a bit rate that balances the amount of data we send over the internet and the visual clarity of your video. If you want to broadcast in higher bit rate, and your upload speed is fast enough, you can select this option.
High Quality Video requires a sustained minimum of 6 Mbps (megabits per second) for your internet upload speed when using a 1080p stream size. If at any point your connection cannot sustain this, Ecamm will automatically reduce the bit rate so that the broadcast may continue.
Use High Quality Audio
In most cases, Ecamm Live’s default audio bitrate is sufficient. However, some broadcasters such as musicians, may wish to increase the audio bitrate by enabling this option. This option cannot be changed during a broadcast.
Speed Test
Ecamm Live includes a built-in speed test. A symbol indicates that the internet upload speed is sufficient for the current stream size, frame rate, quality, and number of streaming destinations.
A symbol means that your upload speed is not fast enough. You can either reduce your stream size, reduce your frame rate, turn off High Quality Video mode (see above), or reduce the number of streaming destinations.
If the results of the internet speed test doesn’t seem accurate, click the Test Again button. The test usually takes about 30 seconds to complete.
The speed test feature requires macOS 12 Monterey or newer.
Recording Preferences
Record All Broadcasts
Creates a local recording of all broadcasts. Find more about recording in the Recording section of the guide.
Record Isolated Video Tracks (Pro Only)
In addition to normal recording, Ecamm Live can save a recording of up to two camera sources and all Interview guest video and audio. This is sometimes referred to as ISO video recording. Turn on isolated video recording using the checkboxes for Camera A, Camera B, Camera C, Interview Guests, Zoom Guests, and the Zoom Active Speaker camera. You can also select what audio will be added to each recording.
Apply Camera Effects To Recorded Video Sources
When recording isolated video for Camera A, Camera B, or Interview guests, check this checkbox to include Camera Effects such as Green Screen backdrops and color adjustments in the recording. Uncheck the checkbox to record directly from the camera source without any effects applied.
Record Isolated Audio Tracks (Pro Only)
Ecamm Live can save audio recordings of your audio channels such as primary microphone, secondary microphone, sound effects, and individual Interview guests. This is also referred to as ISO audio recording.
Video Recording File Format
Select the format for Ecamm Live’s local recordings. The default is .MOV format, however some services may prefer a .MP4 file instead. Note that the actual video and audio data in the file will be the same H.264 and AAC format for these options. (Only the container format changes.)
Record-Only Prompt For File Name
When using record-only mode, Ecamm Live can prompt you for a file name, either when the recording starts, or when it ends. If Never is chosen, recordings will be named Ecamm Live Recording with a date and time.
Record-Only Countdown
A three-second countdown will be displayed before starting a recording when in Record-Only mode.
Destinations Preferences
Ecamm Live supports an unlimited number of streaming destinations, which can be added and managed in the Destinations section.
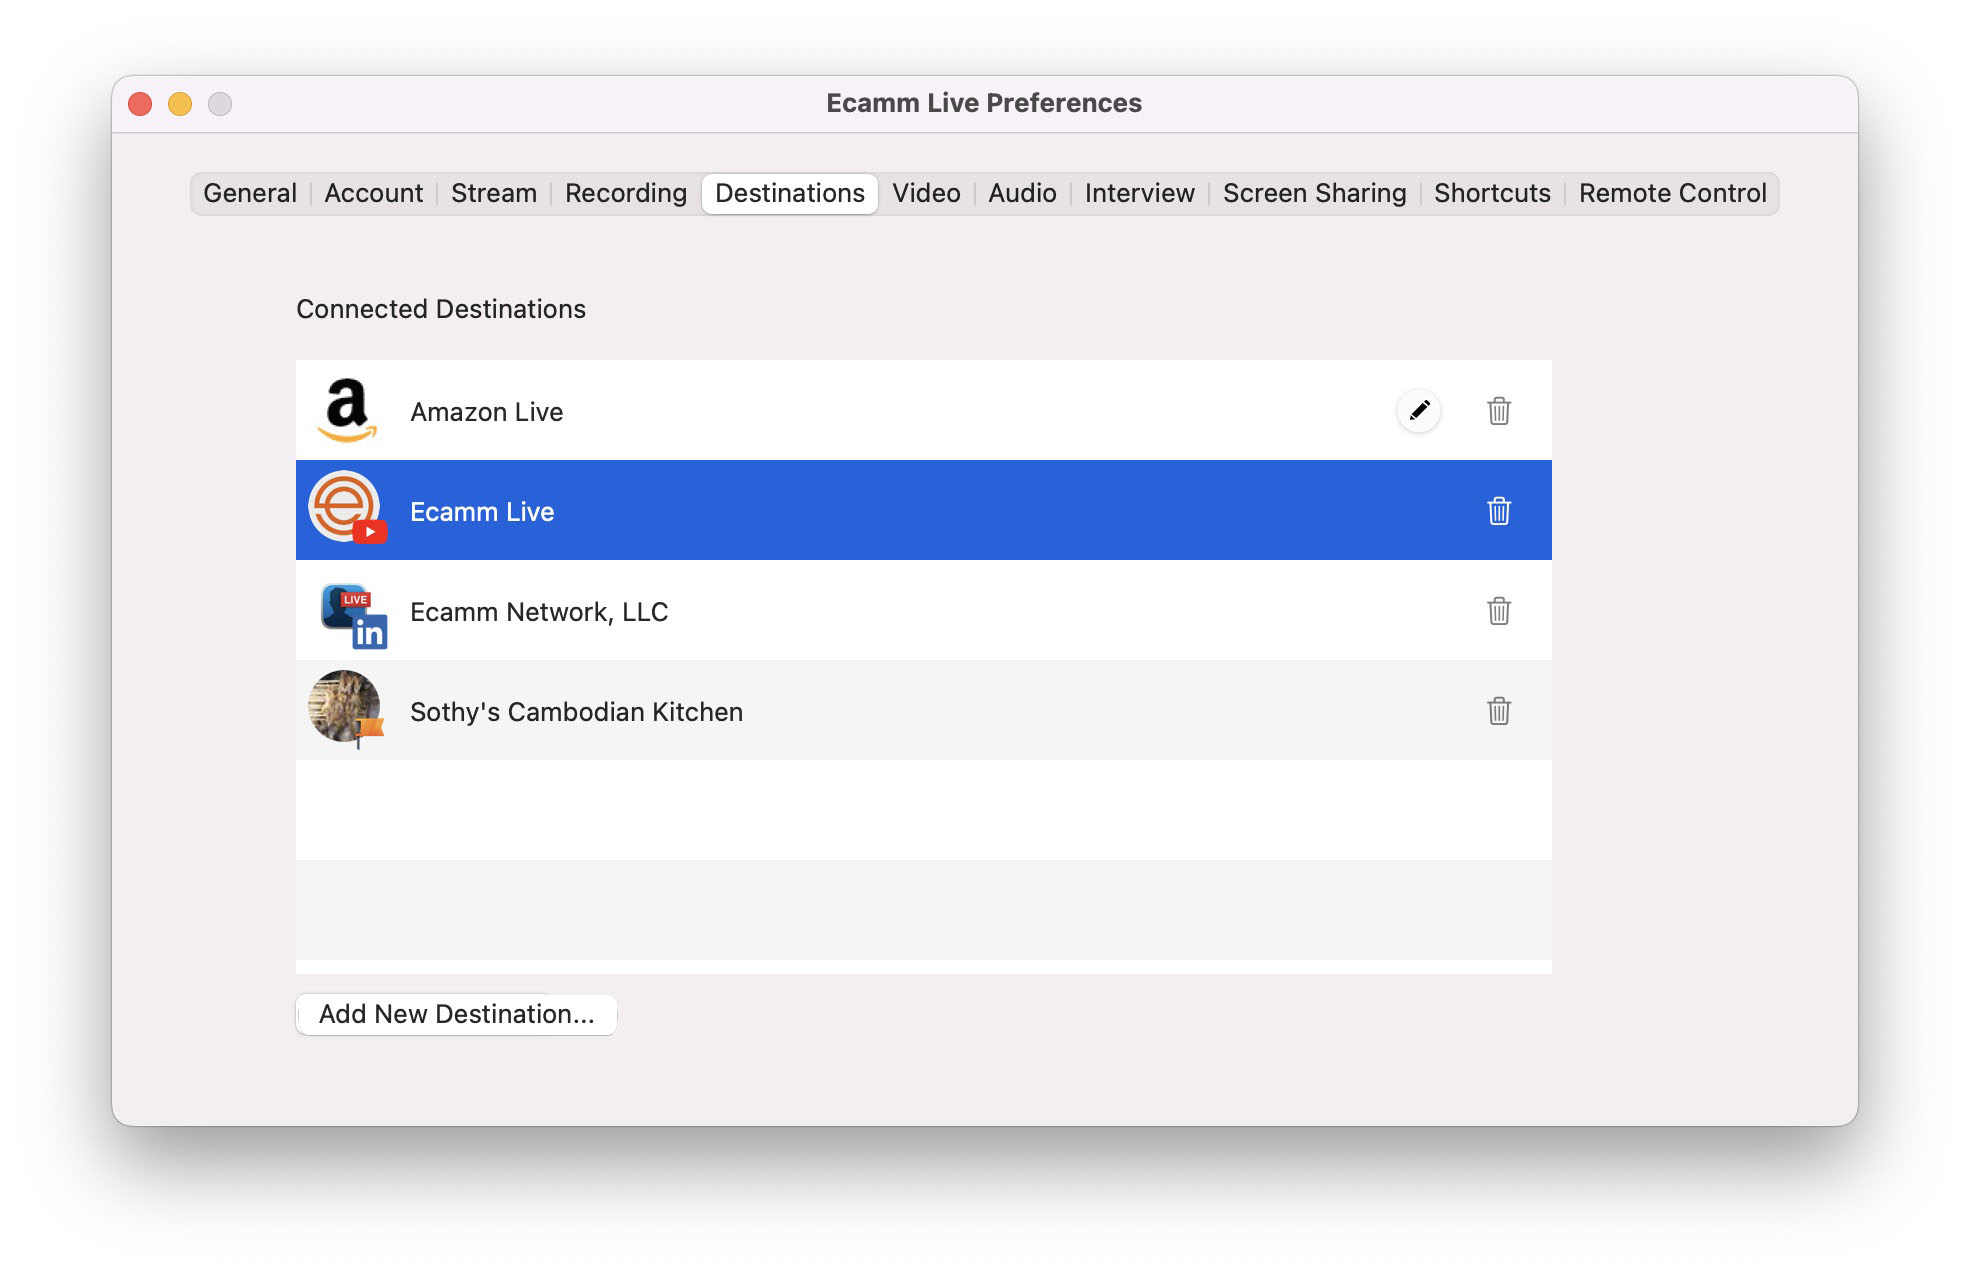
Click Add New Destination... to add a streaming destination.
Remove a destination by clicking the icon, or selecting the row and pressing the delete key on your keyboard.
Double-click a row to open the destination’s main screen in a web browser window.
Custom RTMP destinations, Amazon Live destinations, and Instagram Live destinations will also include a button to edit the RTMP server URL and stream key.
Streaming destinations may occasionally need to be re-authorized. If a destination is not authorized, you will see a button. Click it to begin the login flow for that destination.
Video Preferences
Default Source Mode
The default source mode (Blank, Camera, or Screen Share) for newly created Scenes.
Default Transition
Choose a visual effect when changing Source Modes or Scenes. Select No Transition, Live Motion, Cross Dissolve, Slow Cross Dissolve, Slower Cross Dissolve, White Flash, Swipe, Cross Zoom, Light Rays, Ripple and Copy Machine transition effects. A Pro-level plan is required for Cross Zoom, Light Rays, Ripple and Copy Machine effects.
Live Motion will smoothly move overlays that are in both scenes. It supports camera, screen share, widget, and image overlays. Components of the scene that aren’t moved by Live Motion will cross dissolve.
This transition effect can also be set on a per-Scene basis by selecting a transition in the Scene Options section of the Options menu.
Fade Out When Finished
When this option is enabled, Ecamm Live’s video stream will fade to black when the Finish button is clicked.
Auto-Play Video Files
When this option is enabled, Ecamm Live’s Video File source mode will begin playback automatically when a video file is picked, when Video File source mode is entered, or when a broadcast or recording starts while in Video File source mode. When this option is disabled, you’ll need to press the play button or press the spacebar to start video playback.
Show Picture-in-Picture Above Overlays
When this option is enabled, the picture-in-picture window will show up on top of any overlays. This is particularly useful when presenting a full screen image or PDF overlay while using picture-in-picture.
Show Picture-in-Picture in New Video File and Screensharing Scenes
The default picture-in-picture visibility setting for newly created Scenes.
Show NDI and Syphon Titles Full Screen
When this option is enabled, NDI titler sources such as NewBlue and ProPresenter will fill the entire screen instead of showing up as a picture-in-picture.
Disable Built-in Camera
You may wish to completely disable the built-in camera to avoid it from being picked accidentally when using other cameras.
Audio Preferences
Speakers
Select the audio device to use for sound from movies, sound effects, system audio, iOS audio and remote guests.
Use Echo Cancellation
Use this checkbox to toggle Echo Cancellation.
Enable Echo Cancellation for External Speakers
Ecamm Live will automatically disable Echo Cancellation if it detects that the Mac’s internal speakers are not being used. Pick this checkbox if you’re using external computer speakers that are not headphones and you require Echo Cancellation.
Broadcast System Audio
By default, Ecamm Live will broadcast your Mac’s system audio when in Screenshare mode. Change this setting to either never broadcast system audio, or to broadcast system audio all the time.
Automatically Mute Microphone During Video Playback
By default, the microphone will be muted when in video playback mode with no picture-in-picture. Uncheck this checkbox to turn off auto-mute.
Mic Delay
In most cases, audio and video arrive from input sources more or less simultaneously. However some video sources my have latency introduced by a slow encoder, causing audio and video that aren’t synced up. (One example of this would be video arriving from an encoder such as an Elgato Cam Link 4K, with audio arriving from a difference source such as a USB microphone.)
In this case, you may wish to add a slight delay to your audio input. Adjust the Mic Delay slider to add an audio delay. But don’t forget to put it back when a delay is no longer needed!
Map Input Channels 1 And 2 To Left And Right Stereo
By default, Ecamm Live will mix all of an input device’s channels together. However, if you are using a stereo audio input, such as a stereo microphone, you may wish to map channels 1 and 2 to left and right stereo.
Mute Movie Sound On Speakers
This checkbox will prevent movie audio from movie playback mode from playing on your Mac’s speakers. (It will still be in the broadcast.)
System Output Mix Mode
Use this setting only when the Mac’s audio output is being mixed back into the mic channel by your audio interface. (Ecamm Live won’t mix in movie audio, sound effects, or Interview guest audio for you, since you’re already mixing it into the mic channel using your sound board.)
Interview Preferences
Interview preferences are covered here in the Interview section of the guide.
Screen Sharing Preferences
Include Desktop Icons
Show the desktop icons when sharing the entire screen.
Include Desktop Picture
Show the desktop image when sharing the screen. Turn this off to use a black background instead.
Add Margin When Zooming to an App Window
Add a small margin around windows when automatically zooming to an app or app window.
Optimize for Better Quality or Higher Frame Rate
When using the Better Quality setting, you may notice a reduced screen capture frame rate when sharing movie playback in a browser. To prevent this, use the Higher Frame Rate setting.
Include Mouse Cursor
Include the mouse cursor in the broadcast. Note that the mouse cursor is automatically hidden when Ecamm Live is the active application.
Mouse Cursor Size
Select a custom mouse cursor size.
Show Mouse Clicks
Mouse clicks will be indicated with a small circle around the mouse cursor.
Show Everything When Sharing The Entire Screen
Share the screen contents with no changes. This mode will include Ecamm Live in the broadcast, and will not hide the desktop or desktop icons. However, this mode is more efficient, and ideal for sharing a second display.
Shortcuts
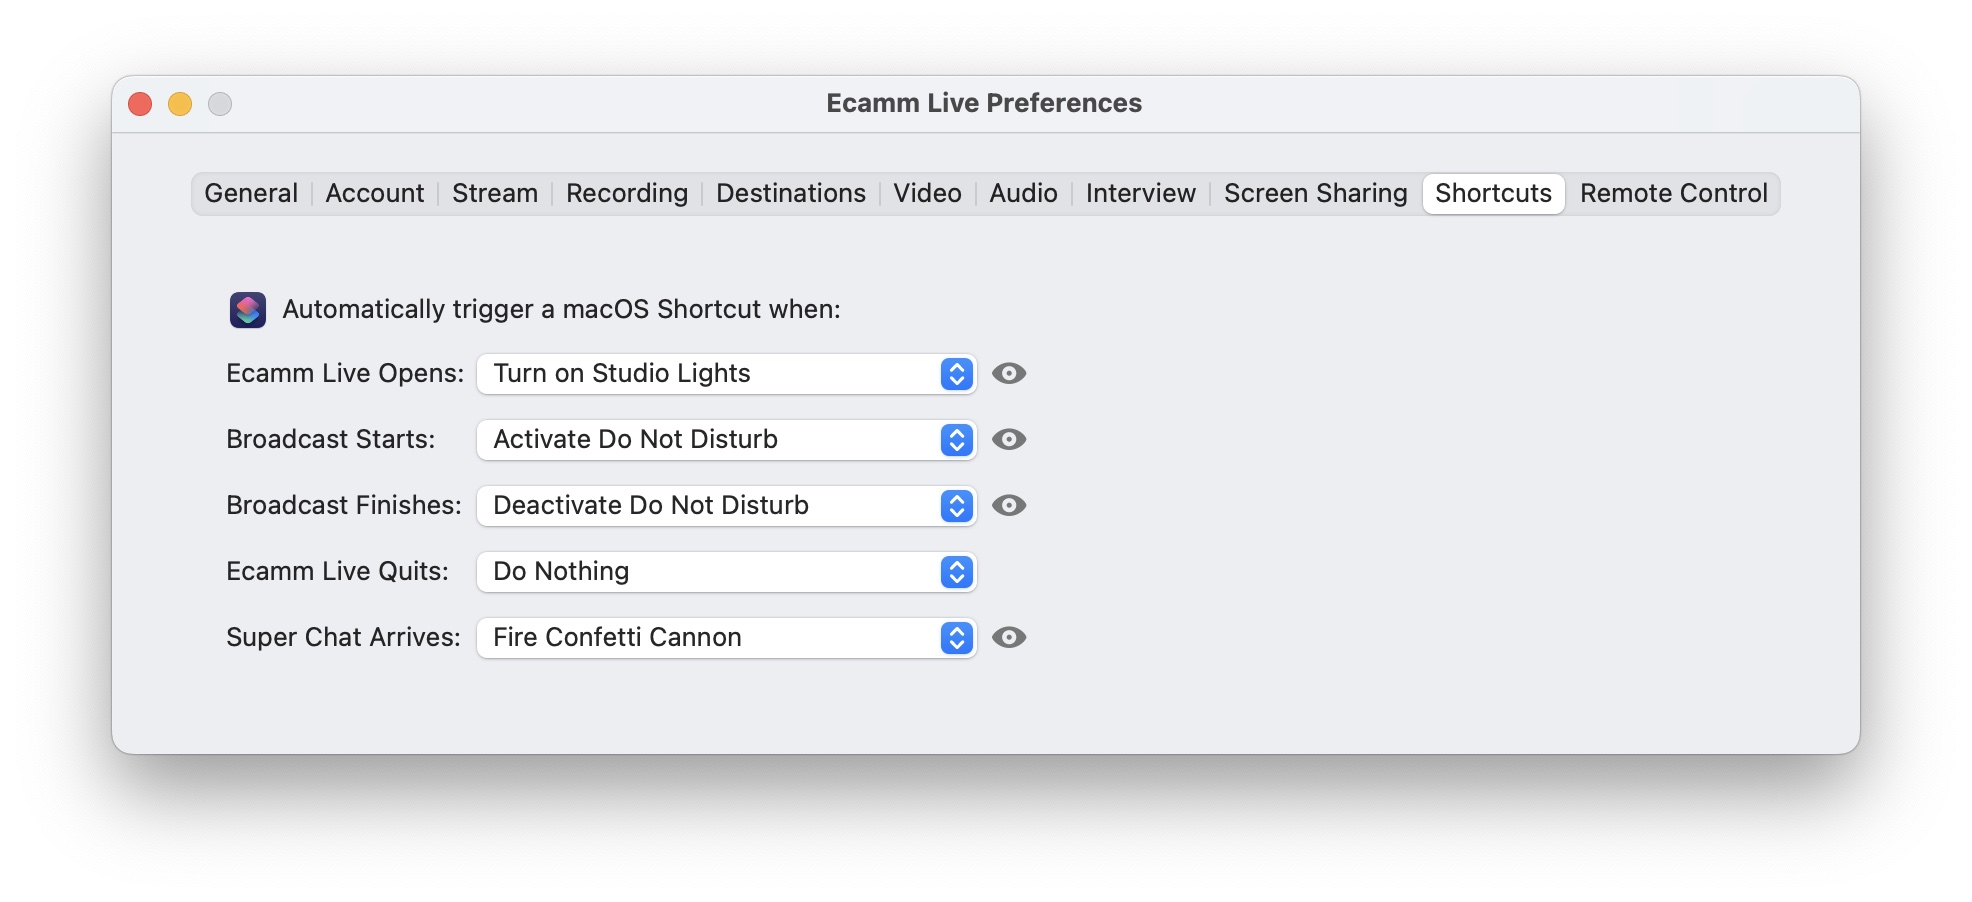
Ecamm Live provides four triggers for macOS Shortcuts:
Ecamm Live Opens
Assign a shortcut to run when the Ecamm Live app opens. For example this could turn on studio lights.
Broadcast Starts
Assign a shortcut to run when a broadcast or recording starts. For example, activate Do Not Disturb mode, quit certain apps, or turn on an On-Air light in your studio.
Broadcast Finishes
Assign a shortcut to run when a recording or broadcast finishes. For example, deactivate Do Not Disturb mode. This trigger will send the recorded file’s path into the Shortcut.
Ecamm Live Quits
Assign a shortcut to run when Ecamm Live quits.
Super Chat Arrives
Assign a shortcut to run when a YouTube Super Chat arrives during a stream.
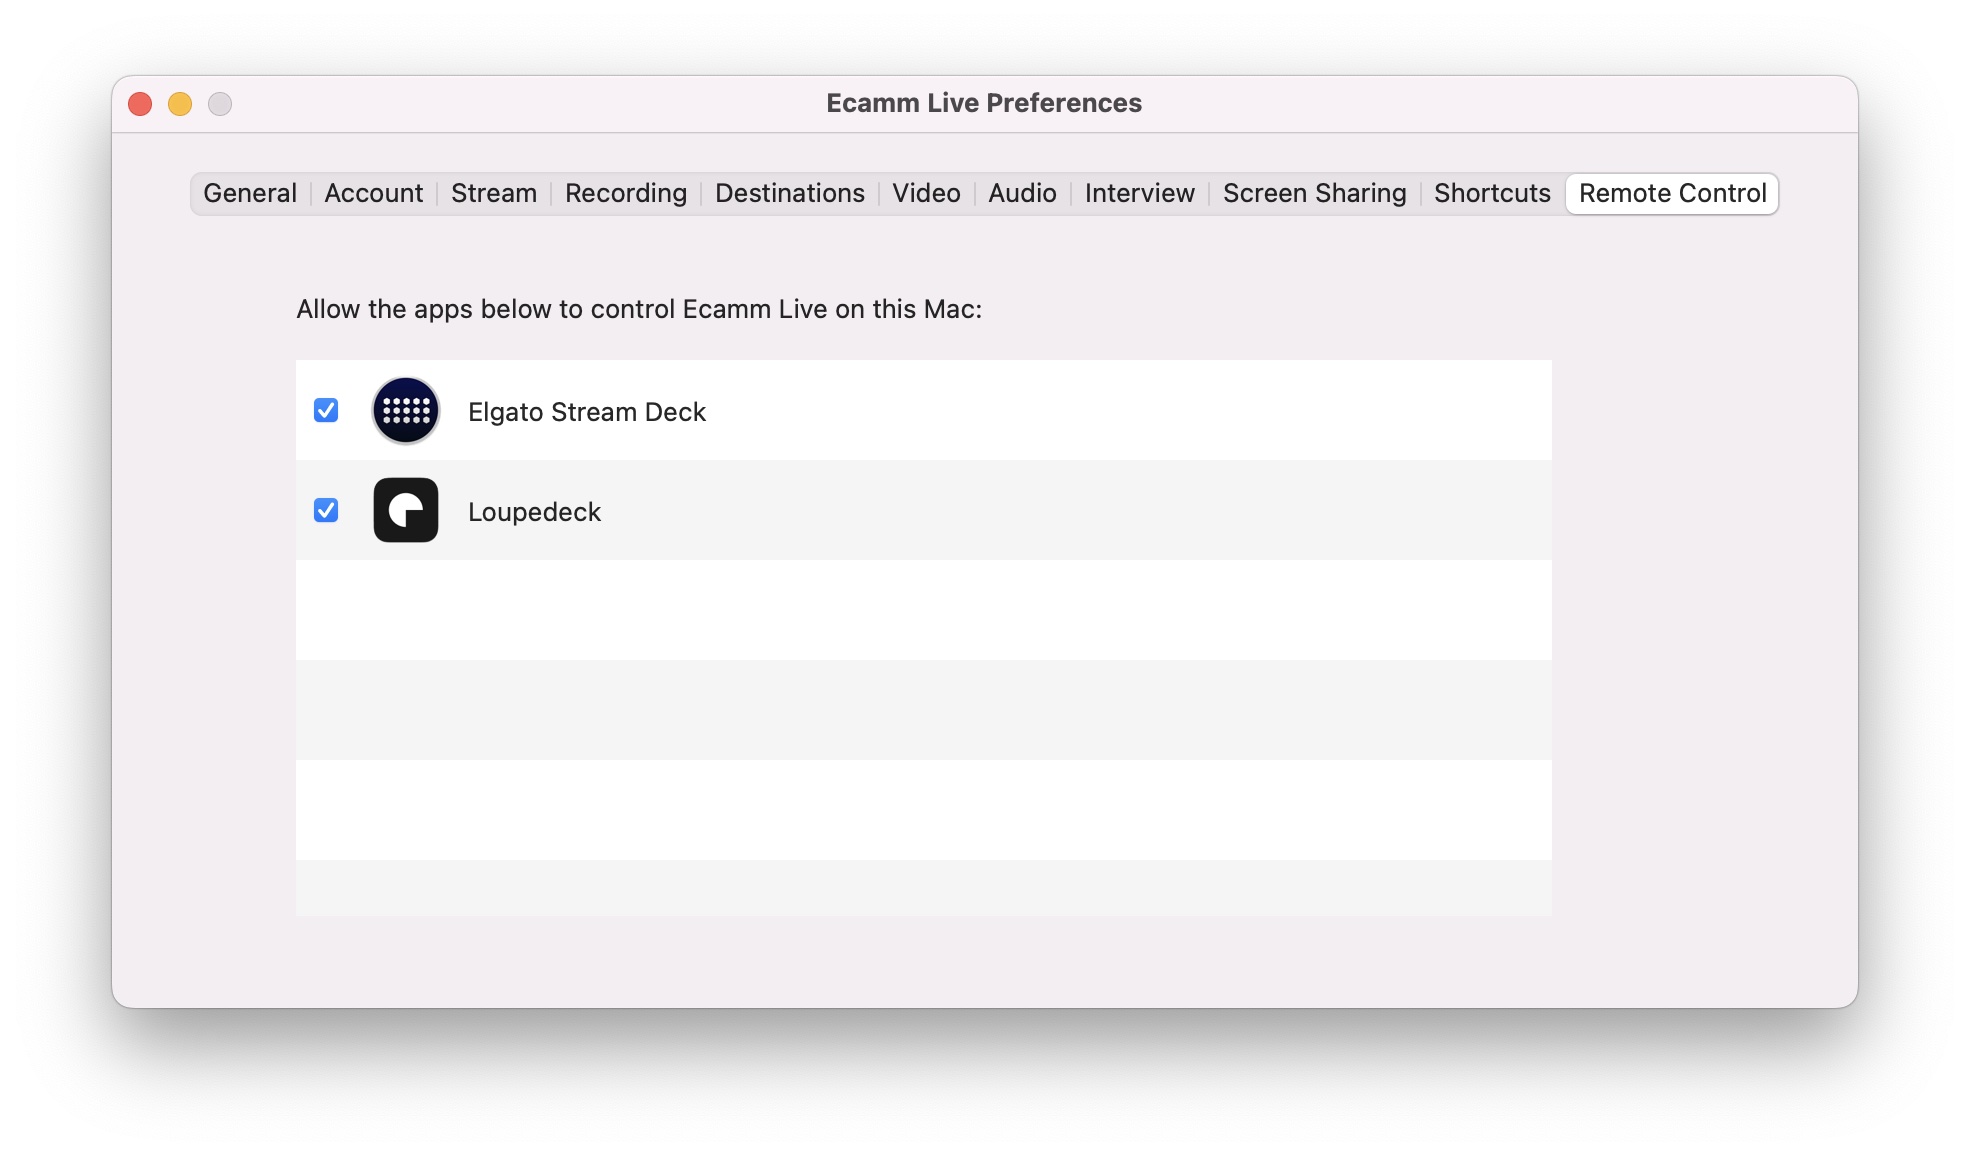
Remote Control
Tools such as Elgato Stream Deck and Loupedeck, and third-party apps such as ELMC and Beat Sheet can control Ecamm Live. Configure which apps have control using the checkboxes. (Entries will show up here automatically as permission is requested.)