The Main Window
Upon opening Ecamm Live, you’ll be greeted by the Main Window, and several smaller windows.
The Main Window
The Main Window is your monitor of what your audience sees, except the tools we’ve laid on top of this window—and your cursor—which are only visible to you. You can resize the Main Window by dragging from any edge or corner of the window.
The smaller windows are for control of Sound Levels, Scenes, Overlays, Camera Switcher, Camera Effects, Interview mode, Zoom, and Comments and Reactions. If you dismiss any of these windows, you can bring them back by visiting the Window menu at the very top of your Mac’s display. Additionally, each of these windows has a keyboard shortcut assigned for easy access.

The Mode Menu
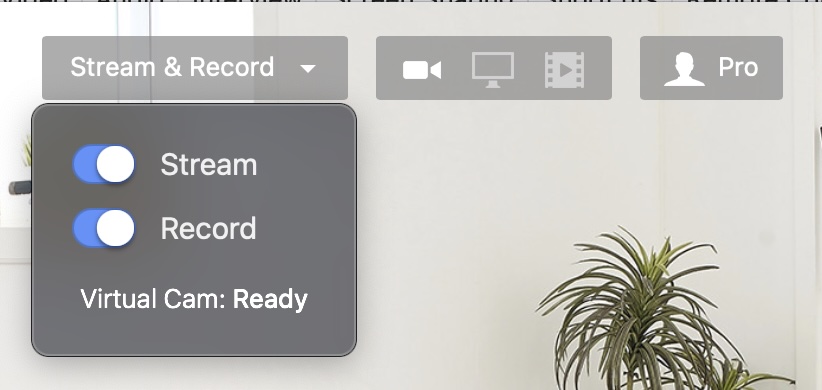
The Mode menu determines what Ecamm Live will be used for.
For streaming, turn on the Stream toggle switch. This will activate the streaming buttons at the bottom of the Main Window.
To record your stream, turn on the Record switch.
For Record-Only mode, turn off Stream and turn on Record.
Scene Selector
At the top left corner of the Main Window is the Scenes menu. The text of the button shows the name of your currently active Scene. Any other Scenes you’ve created are listed within the menu, giving you fast access to switching scenes during a stream or recording. Reference our section on Scenes for more details on what Scenes are, and how to use them.
Source Mode
At the top center of the Main Window you’ll find Ecamm Live’s three primary source modes that you can use in your broadcast.
The right side of the Main Window contains buttons for the Camera Switcher, Overlays, Sound Levels, Camera Effects, Comments, Sound Effects, Interview, and Preferences. Each button shows or hides the respective floating window.
The links above go to the manual’s sections for each source and explain each in detail.
Streaming Buttons
When Stream is turned on in the Mode menu, the bottom of the Main Window will contain:
A button for creating a New broadcast.
A button to view a list of Upcoming broadcasts. (This will only show up if there are streams scheduled.)
And finally, a button to Go Live. This will show up as a countdown for scheduled broadcasts.
When in Record-Only mode, you’ll see a Record button.
- Preview Mode
- Preview mode lets you make changes in the Main Window but not in your broadcast.
- Publish
- If you’re in Preview Mode, the Publish button will publish your changes to your audience.